
For decades, felt patches have been seen widely. From being prominent on military uniforms to being idealized on varsity jackets, backpacks, and even designer clothing. What started as a practical way to identify teams or ranks has now turned into a popular DIY trend.
Today, crafters, hobbyists, and small business owners are creating unique felt embroidered patches to personalize jackets, tote bags, jeans, or even hats.
However, what is so unique about felt patches? Felt provides a soft yet durable basis that doesn’t fray, in contrast to many other patch kinds. As a result, you may cut it precisely into shapes, stitch straight onto it, and neatly finish the edges without worrying about the threads coming loose.
This fabric offers you countless options, regardless of whether you like the accuracy of machine embroidery on felt or hand embroidery on felt.
Why Felt Is Ideal for Embroidered Patches
There are several reasons why patch makers love felt.
- Non-fraying edges – Unlike woven fabrics and other patch types, felt does not unravel, and cutting clean shapes is a breezy affair.
- Durability – Quality wool or blended felt can withstand embroidery, and is perfect for patches that are worn or laundered.
- Firm texture – Felt has body and thickness that supports stitches without collapsing.
- Versatility – It works wonderfully for both DIY hand embroidery and machine embroidery.
- Color variety – Felt comes in a plethora of colors, allowing you to play with color as a bold background for your design.
All these reasons make felt an easy selection process for beginners and seasoned embroiderers.
Materials and Tools You’ll Need
Before you start stitching, it’s worth setting yourself up with the right materials. For the base, felt around 2–3 mm thick is ideal. Wool felt is strong and durable, synthetics are more budget-friendly, and blends give you the best of both.
For thread, cotton embroidery floss is the classic choice, while pearl cotton gives a bolder look and machine embroidery threads like rayon or polyester add shine and strength. Pair these with sharp embroidery needles (size 5–9 for handwork, embroidery or topstitch needles for machines) to keep your stitches clean.
Always use a stabilizer when embroidering felt patches. For simple patterns, a tear-away stabilizer is enough. For more durable designs, a cut-away option is better, while water-soluble stabilizers are ideal for fine details. Keep your fabric tight with a hoop – a small embroidery hoop works for hand stitching, while a machine hoop is required for digital embroidery.
For the final magic, you are going to need a scissor or a rotary cutter for clean trimming.
Best Stitches for Embroidery on Felt Patches
When it comes to hand embroidery, some stitches work better on felt than others. If you’re creating DIY embroidered patches on felt, the stitches below are the most effective
Backstitch: Perfect for clean outlines. Bring the needle up, move backward a short space, then re-enter the fabric at the end of last stitch.
Split Stitch: A textured alternative to backstitch. Each stitch splits the previous one, creating a rope-like line.
Satin Stitch: Ideal for filling shapes. Lay parallel stitches closely side by side for a smooth block of color.
French Knots: Tiny raised dots. Wrap thread around needle once or twice, then re-enter fabric close to where it first came up.
Chain Stitch: Creates linked loops. Great for borders or decorative curves.
Blanket Stitch: Common for edging patches. Insert needle at edge, pull thread under needle to form a loop, and repeat evenly around.
Using a mix of these stitches makes your patch more dynamic and textured.
Hand Embroidery vs. Machine Embroidery
Both approaches have unique advantages. Your choice depends on your goals, time, and equipment.
| Factor | Hand Embroidery | Machine Embroidery |
| Cost | Low setup, just needles & thread | High upfront investment |
| Speed | Slower, but relaxing & artistic | Fast, efficient, great for multiples |
| Detail | Allows textured, personal designs | Extremely precise and uniform |
| Flexibility | Easy to adapt design mid-way | Requires digitized design files |
| Style | Handmade, rustic, unique look | Professional, polished finish |
Many patch makers even combine both: machine embroidery for the main design, then hand embroidery for textured finishing touches.
Beginner Tips for Success
DIY embroidered patches on felt seem easy until you find it difficult to complete on such minor points. Here are some helpful tips:
Start small – Try simple shapes and outlines before tackling complex designs.
Use scraps – Practice stitches on leftover felt pieces before working on your final patch.
Mark clearly – Use erasable pens or transfer paper so your design stays visible.
Test threads – Some colors show up better on felt than others; test before stitching.
Don’t skip stabilizer – Even though felt is sturdy, stabilizers prevent distortion.
Step By Step Embroidering a Patch on Felt
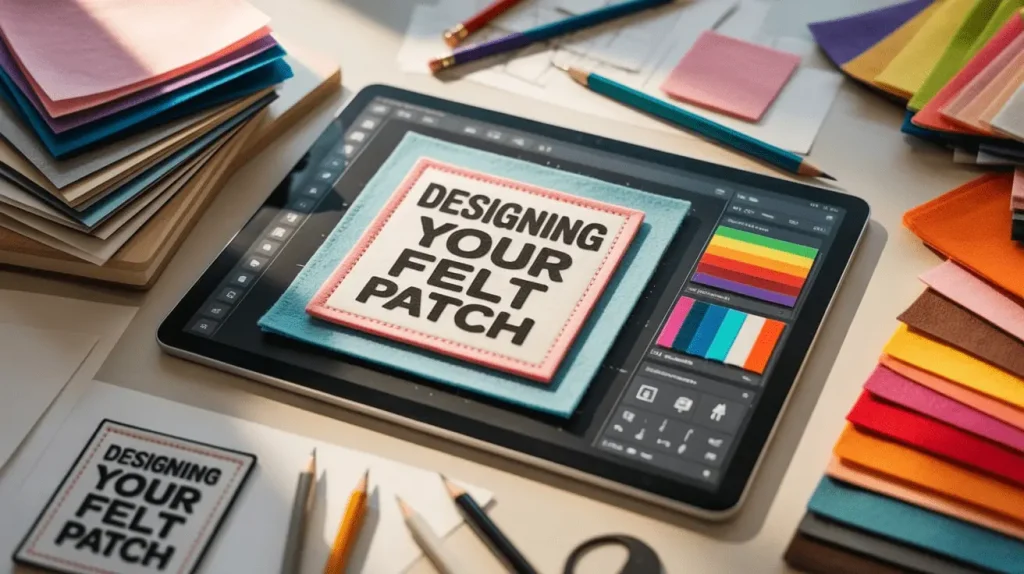
Step 1: Designing Your Felt Patch
The first step in creating an embroidered felt patch is deciding on the design.
Is the patch for clothing, a bag, a uniform, or as a gift? Having clarity helps shape the design.
Standard patches are 2–4 inches, but larger patches make a bold statement while smaller ones work well as subtle accents.
Select your design method:
Sketch freehand with pencil or fabric-safe marker.
Use templates you can download and print.
Then, use transfer paper, water-soluble stabilizer, or light pencil to transfer the design to the felt.
Step 2: Preparing Felt and Stabilizer
Once the design is ready, prepare your materials to ensure a smooth stitching process.
Cut felt larger than the design so you have extra room to work and trim later.
Choose the right stabilizer:
Tear-away for light designs.
Cut-away for dense or detailed embroidery.
Adhesive when you want extra grip.
Hoop correctly: Place felt and stabilizer in a hoop, keeping them taut but not stretched. A firm base prevents puckering.
Step 3: Hand Embroidery Method
Hand stitching is at the core of DIY making. Here’s how to make a patch by hand:
Begin with an outline – stitch an edge with either a backstitch or a split stitch.
Add on detail – a chain stitch is good for inward curves and borders. To add texture, place French knots within or around the design.
Fill the design – satin stitch is a good option for larger shapes, while seed stitches are good for adding a subtle texture versus being flat. For layering, always start stitching in a lighter shade and then layer it in a darker shade for additional shading or depth.
Finish the edge – a blanket stitch will add a decorative and durable edge.
For example, if making a heart patch, backstitch the outline, satin stitch the body in red, and blanket stitch the edge in an opposing color like white.
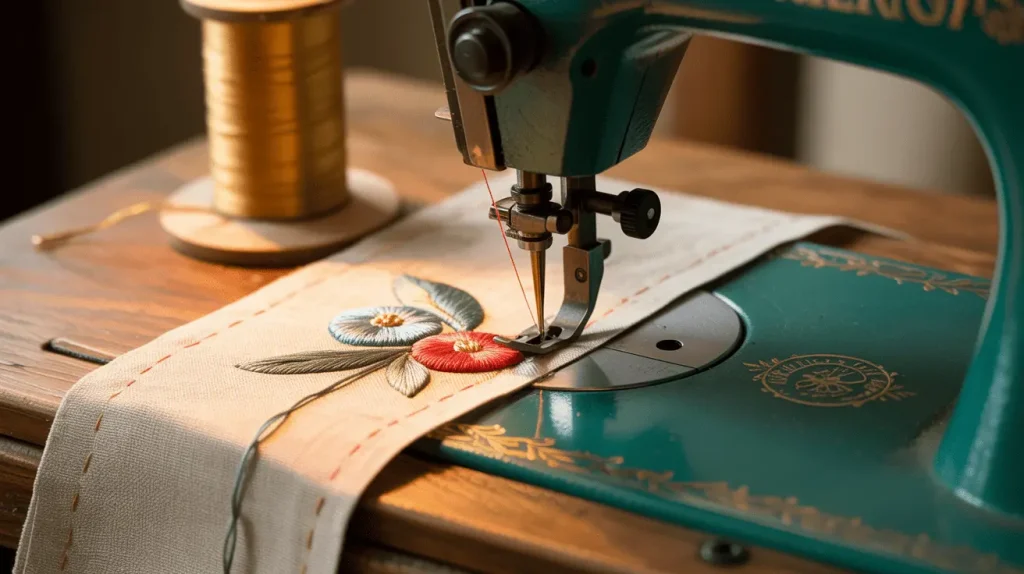
Step 4: Machine Embroidery Method
If you own an embroidery machine, you can achieve faster and more uniform results.
Load your digitized design into the machine and size it correctly.
Bind felt with stabilizer firmly, so it doesn’t shift.
Test first on scrap felt to check thread tension, stitch density, and alignment.
Embroider patch on felt by following the programmed sequence of stitches.
Add a satin border for durability and a polished finish.
Keep stitch density balanced. If it is too dense it causes warping, too light makes the design look sparse.
Step 5: Trimming and Finishing
After embroidery, clean up your patch for a professional look.
● Trimming the Patch
Cut around your design with sharp scissors or a rotary cutter, leaving a neat edge so the stitches stay secure.
● Finishing the Edges
Give the patch a neat frame by heat-sealing if you’re using synthetic felt, satin stitching for a smooth border, or blanket stitching for a handcrafted appearance.
● Adding a Backing
Pick a backing that matches your use: iron-on for rapid application, Velcro for detachable patches, or sew-on for a permanent finish.
Step 6: Applying Your Patch
When your patch is ready, attach it to clothing, bags, or accessories:
- Iron-on method – Apply heat to engage the adhesive and attach it to the fabric. If you’re wondering how to iron on a patch designs properly, simply apply steady heat to engage the adhesive and press it firmly onto the fabric.
- Sew-on method – Sew it firmly enough to survive washing and heavy wear.
- Velcro method – Another option for uniforms or gear that may require a patch swap.
- Glue method – Simply a quick and easy option, although not as long-lasting for clothing.
Common Mistakes to Avoid
- Skipping stabilizer – Felt alone isn’t always enough support.
- Using dull scissors – Causes rough or fuzzy edges.
- Overcrowding stitches – Heavily stitching felt patch can warp the felt.
- Choosing the wrong thread – Thin threads may sink into felt and disappear.
- Loose hooping – Leads to crooked or uneven designs.
For customers who want their artwork prepared for embroidery, our Digitalizing Service ensures every detail is translated accurately. This step will convert your design into a stitchable file. It will allow the finished patch to have clean edges, sharp lines and sufficient detail for embroidery. Not only does professional digitizing make your patches look better, but they will also last longer through repeated wear and washing.
FAQs
Can felt patches be ironed onto delicate fabrics?
It’s best to avoid ironing patches onto delicate fabrics like silk. For these, sew-on or glue methods are safer.
What stabilizer should I use for large patches?
Large or thick patterns work best using cut-away stabilisers. They offer solid, sustained assistance.
Can I mix hand and machine embroidery on the same patch?
Indeed! Many manufacturers utilise hand embroidery for additional details and machine embroidery for the main pattern.
How do I stop my stitches from sinking into thick felt?
Alter the stitch tension or use thicker threads, such as pearl cotton. Reduce the stitch density a little bit for machines.
Do felt patches work well for outdoor gear?
Yes, however it’s best to use patches that are sewn on or have velcro backing. Compared to glue or iron-on, they are more resilient when used outdoors.
Conclusion
At-home embroidered felt patch making blends imagination with functionality. Every stage lets you create something unique and long-lasting, from designing and selecting stitches to cutting corners and adding backings.
If you’re exploring how to embroider a patch on felt, you can choose hand stitching for a rustic charm or machine embroidery for precise accuracy. Felt remains the perfect substrate for patches that truly stand out.
If you ever need help, The American Patch can create embroidered patches that add style and enhance the look of your outfit.